TVs have become an important part of our lives in today’s world as they offer entertainment, news, and information. But have you ever noticed that sometimes colors may seem flat on your TV or contrast might not be right? That’s where calibration comes in. Calibrating your LED TV can help you unleash its full potential thereby ensuring each time you switch it on is an immersive visual treat.
What Calibration Is And Why It Matters?
Calibration is the process of adjusting different settings on a TV to achieve the most accurate and visually appealing quality of picture. This entails fine-tuning brightness, contrast, color temperature among other advanced options so that the displayed image matches intended colors, tones and overall visual representation as envisioned by content creators.
You need proper calibration because every television has slightly different display characteristics even if they are the same model. Moreover, such factors like ambient lighting around you or viewing angles from which one watches can affect how things appear on their screens. By calibrating your television set, these disparities will be eliminated, thus providing consistent, best quality viewing experience regardless of the material being watched.
Key Steps And Tips For Calibrating Your LED TV
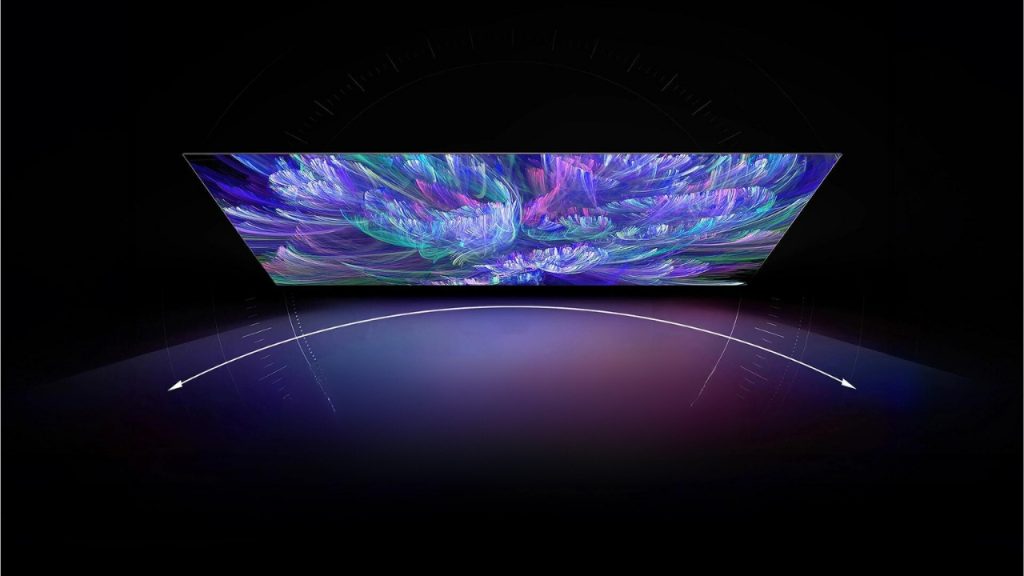
The task of calibrating an LED TV may appear overwhelming but with correct steps taken and tools used this exercise can turn out to be simple yet yielding excellent outcomes. Here are some key measures and recommendations for achieving optimal picture quality on your LED television.
Tools And Equipment Needed For Calibration
To successfully carrying out calibration of your LED TV there are few necessary tools that should be available with you:
- Calibration Disc or Test Patterns: These are discs/patterns containing a variety of test images and color gradients designed specifically for calibrating TVs.
- Blu-ray Player or Streaming Device: You require a device capable of playing back calibration disc or accessing online test patterns.
- Light Meter (optional): More accurate adjustment of brightness and black levels can be achieved through measuring them using a light meter.
- Neutral Room: Calibration must be done within a room with controlled lighting conditions which don’t cause reflections.
Creating The Right Environment For Calibration
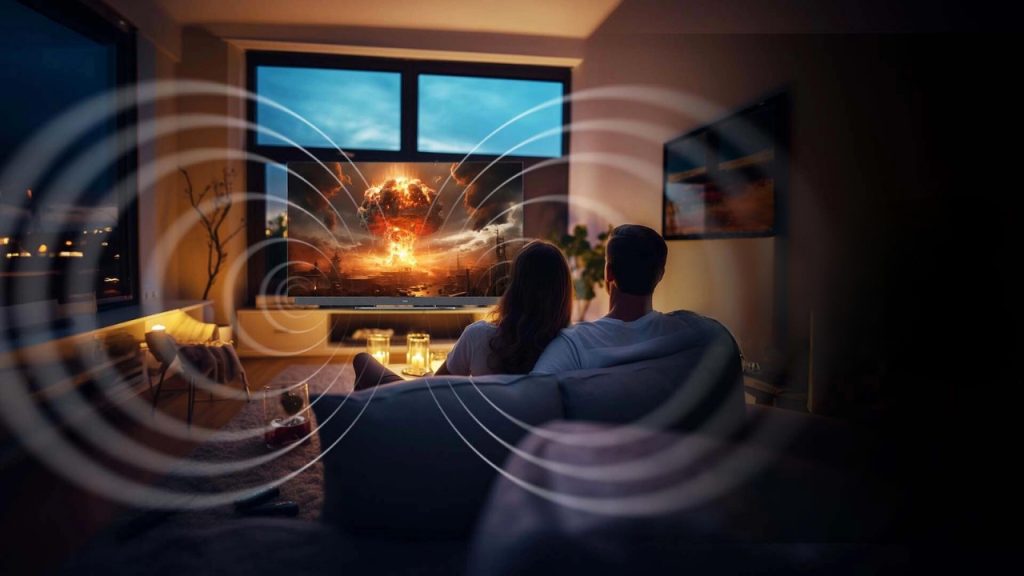
Before commencing calibration, it is important to set up the right environment. Here are some tips:
- Dim the room lights: Colors and brightness on your TV screen can be affected by ambient light hence, it is advisable to calibrate in dim or dark rooms.
- Allow for warm-up time: Give your TV at least 30 minutes warm up period before calibrating so as to ensure consistency in performance.
- Position yourself: Sit at the distance you usually watch from and at an angle that reflects how you perceive the quality of the picture.
Basic Settings Adjustment – Step-by-Step Guide
After acquiring the necessary tools and setting up the environment, refer to these steps in order to adjust basic settings on your LED TV:
- Access the picture settings menu: Normally this is located in either of the main settings on your television or a particular “Picture” menu.
- Adjust brightness and contrast: Use test patterns or calibration disc to set brightness and contrast levels appropriately. The darkest areas should be visible but not too bright; also, depth as well as details desired in an image ought to be achieved through contrast.
- Set color temperature: Depending on what you prefer, different color temperature presets such as “Warm,” “Cool,” or even “Neutral” can be chosen. Alternatively, red, green, blue gains may be fine-tuned for more accurate color balance.
Advanced Picture Settings Fine-Tuning
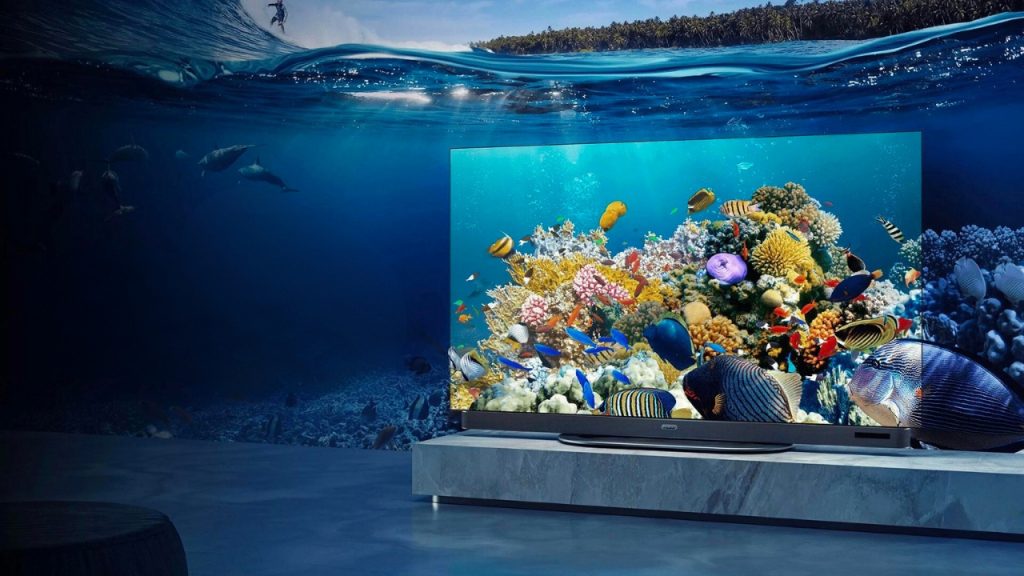
Having adjusted basic settings already; now let’s move onto advanced ones for better quality display while watching:
- Sharpness: Increase clarity and detail by adjusting sharpness setting; however, care should be taken against oversharpening which leads to introduction of unwanted noise or artifacts into the picture.
- Noise reduction: Lower graininess or static in lower-quality content by enabling noise reduction features while watching low quality videos especially those recorded at night with poor lighting conditions.
- Motion settings: Make motion look smooth and natural on your TV through adjustment of judder reduction; motion interpolation among others can also help achieve this effect if need arises; motion blur reduction should also be considered.
Smoother Playback Through Optimizing Motion Settings

Motion handling is another aspect of TV calibration that cannot go unmentioned especially when it comes to sports action movies gaming etcetera. How can we improve this? Check out these guidelines:
- Motion interpolation: Reduce jerkiness by adjusting motion interpolation settings so that there is reduced judder resulting in smoother-looking motions but sometimes contents may appear too smooth because of what is commonly referred to as the “soap opera effect”.
- Motion blur reduction: This feature helps in reducing blurs during fast-moving scenes; however, care should be taken since there might arise other artifacts due to the same.
- Game mode: In case you intend gaming with your television set then enable game mode which will minimize input lag thus keeping everything responsive during gaming sessions
Storage of Setup Values and Verification of Their Correctness
In this part you will learn about saving calibration settings as well as testing them on different kinds of content.
Save image modes: Majority TVs allow for storage of several picture modes, so save your adjusted values onto one of them to be able to quickly switch between configurations.
Try with various content: Play different stuff like movies, shows, sports broadcasts or games to verify if the calibrated values still look correct and visually appealing.
Refine them if needed: If there are any areas that don’t seem right – tweak until satisfied should always be applied in such cases.
Ongoing maintenance and re-calibration

Every electronic gadget including LED television sets require continuous adjustment since they may change over time due to various factors such as aging or environment hence these are some recommendations:
Periodically re-adjusting: Carry out a full calibration at least once every twelve months but also when any noticeable alteration is detected.
Changing brightness levels: It should be done frequently enough so that compensations can be made whenever necessary because over a long period the luminance might vary from what it used to be therefore affecting how bright pictures appear on screen.
Cleaning displays regularly: Ensure that you clean off dust particles attracted by static charges which may have settled on top of your TV set interfering with clear visibility; fingerprints left behind after handling could also cause blurriness while other contaminants lower quality too.
Haier India TVs – Innovation Meets Performance
Haier India provides excellent televisions featuring the latest technology like 4K resolution, smart connectivity, and intuitive interfaces for an immersive viewing experience. Some models are:
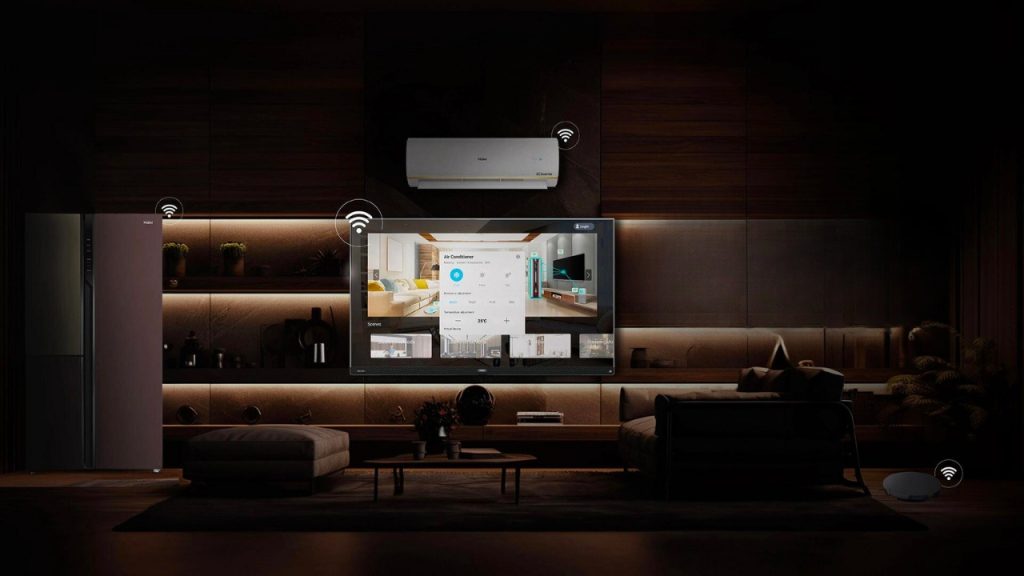
Haier 108cm (43) Smart Google TV With Far-Field – 43P7GT
Key Features
- It offers four times the resolution of Full HD for extra sharp and detailed visuals.
- MEMC technology inserts extra frames to reduce motion blur, ensuring smoother and clearer images.
- Hands-free voice control allows operating the TV and smart devices through voice commands without a remote.
- Ample 2GB RAM and 32GB storage enables smooth multitasking and faster performance.
- Google TV provides personalized and curated content recommendations for a tailored viewing experience.
- dbx-tv audio enhancement optimizes sound output for an immersive audio experience.
- Game mode with VRR and ALLM enhances graphics, smoothens gameplay, and reduces input lag.
- A minimalist metal bezel-less design provides an edge-to-edge display.
- Dolby Vision HDR produces stunningly vibrant colors, deep contrasts and incredible brightness.
- Dolby Atmos audio introduces height channels for a lifelike, three-dimensional sound experience.
Haier 127cm (50) Google TV With Google Assistant – LE50K800UGT
Key Features
- It delivers ultra high-definition 4K resolution for sharp, detailed visuals.
- It supports HDR and HLG for enhanced color, contrast and brightness for vivid, lifelike images.
- MEMC technology inserts extra frames to reduce motion blur for smoother, clearer visuals.
- It has Google Assistant built-in for voice control of smart home devices and easy access to information.
- Dolby Audio provides dynamic range, clarity and immersive surround sound.
- It has 2GB RAM and 32GB storage for smooth performance and ample app/file storage.
- It uses Google TV to curate personalized content recommendations for a tailored viewing experience.
- dbx-tv audio enhancement optimizes sound output for a more immersive listening experience.
Haier QLED 140cm (55) Google TV – 55S800QT
Key Features
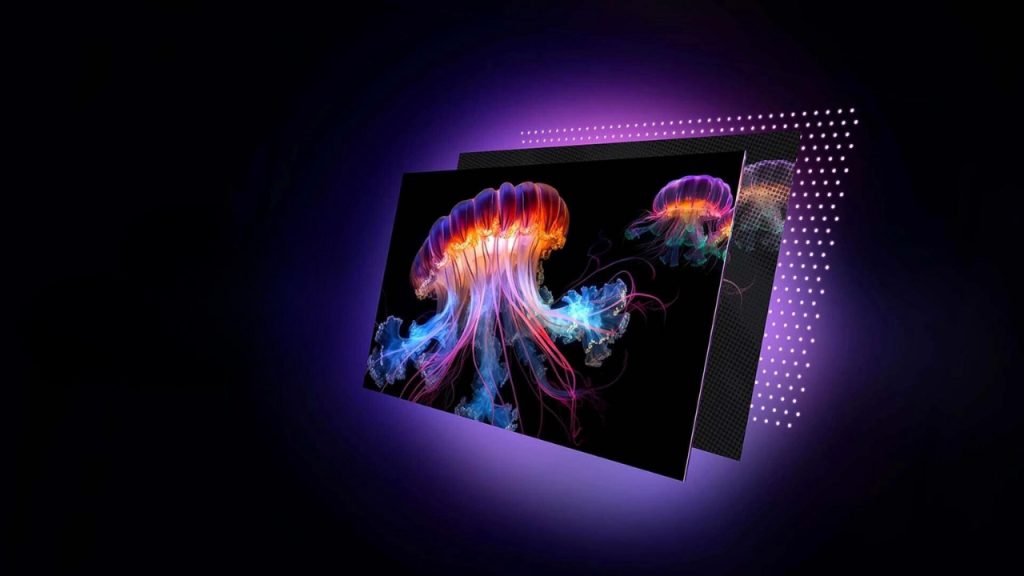
- The QLED display utilizes quantum dots for enhanced color accuracy, brightness, and energy efficiency.
- Dolby Vision HDR technology delivers incredibly vibrant colors, deep contrasts, and bright highlights for a true-to-life visual experience.
- Dolby Atmos audio provides immersive 3D surround sound by adding height channels, enabling accurate sound placement and realism.
- The 120Hz refresh rate ensures smooth motion handling and reduced judder for clear video playback.
- Micro dimming adjusts the backlight in specific screen areas for better contrast and deeper blacks.
- MEMC technology inserts extra frames to reduce motion blur, resulting in smoother and clearer visuals.
- Google TV provides tailored content recommendations and personalized suggestions for a customized viewing experience.
- Hands-free voice control using AI allows operating the TV and controlling smart home devices without a remote.
- 2GB of RAM and 32GB of storage enables smooth multitasking and ample storage for apps and files.
- The sturdy metal stand provides stability and a premium design aesthetic.
Conclusion
Calibrating an LED Television might appear difficult but let me tell you something – it is not! The benefits outweigh any amount of struggle one would put into this activity because after reading these steps provided in my text here today will help unlock all those hidden features within your device thereby giving rise to astonishing picture quality every single time when switched on for use. Just remember though that proper calibrations should always be done continuously meaning that if need arises then adjustments must be made so as to keep your screen looking good always.
If by any chance someone happens to be in the market for another type of display panel, then I would suggest trying out Haier India which offers some really nice monitors with great specifications such as high resolution capabilities coupled up with easy calibration options designed specifically for users who want nothing less than movie theatre quality entertainment at their home. This company has always been at the forefront when it comes down to making innovative products that satisfy customers’ needs; therefore this being said let me assure you once again Haier will not disappoint your expectations because they continue producing excellent visuals supported by fantastic features throughout many years ahead.

