

It’s really fun to set up an extended television experience for yourself, but you have to make sure that you do it right in order to get the best results and make your TV last as long as possible too. There are many mistakes people make during installation which could result in bad picture quality or sound problems, or even damage the television itself. In this article we’ll be discussing common pitfalls to avoid and best practices for a successful LED TV installation.
Common Mistakes To Avoid When Installing LED TVs
One of the biggest mistakes that individuals commonly commit when setting up their televisions is selecting an improper location. It should not be placed under direct sunlight or close to windows that are too bright because this causes glare and washes out the picture; also failing to secure the TV adequately enough whether by using incorrect mounting hardware or not attaching it onto studs within walls can turn into a safety hazard.
Another frequently made mistake is loose cable management whereby wires hang down untidily or run along floors which not only look messy but can also be a tripping danger. Also power supply often gives people a hard time; they plug in both their television sets and multiple devices into one overloaded outlet or use low quality surge protectors.
During setup many fail to calibrate brightness, contrast, color etc settings of pictures thereby ending up with below average image quality due lack of proper optimization for sound and speakers’ placement. Finally inexperienced installers forget to take necessary precautions against physical damages that might occur during transportation as well as after installation.
Best Practices For A Successful Installation
To ensure you have the best experience with your new LED TV, consider following these key tips during setup:
Choosing the Right Location
Avoid placing near windows or any other light source that could cause reflections on screen; also position at comfortable viewing height depending on size/resolution ratios – take into account where majority seats are located vis-à-vis room layout such that necks don’t strain while eyes follow action.
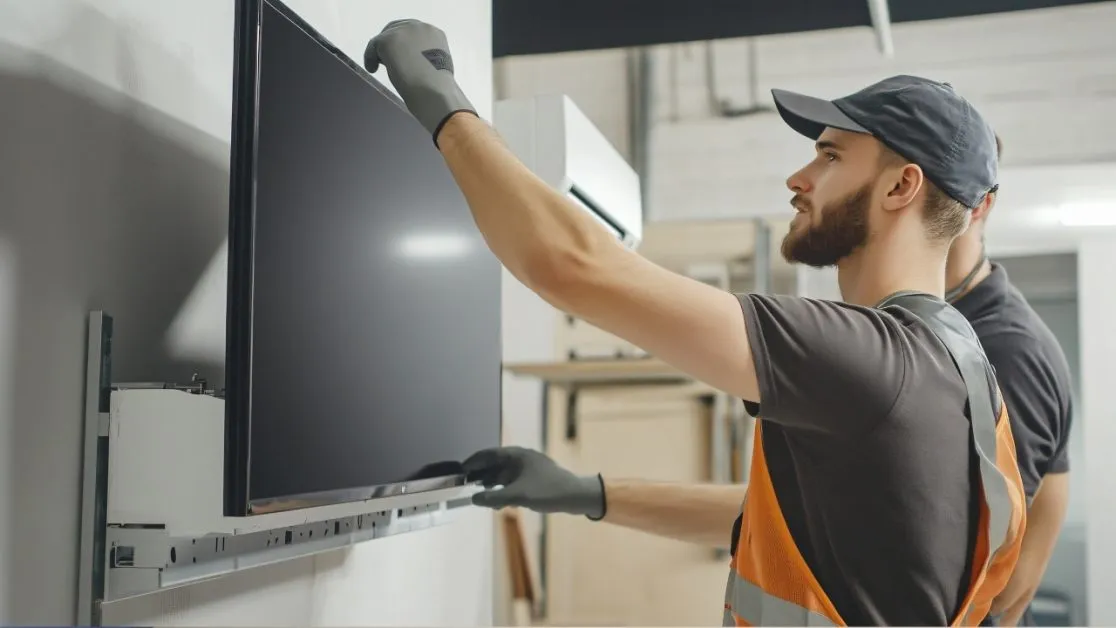
Proper Mounting Techniques
For wall mounts, use high-quality brackets with a weight capacity that matches your TV. Locate studs with a stud finder and attach the brackets to them, not just the drywall. Use a spirit level to ensure the bracket is even. If you’re opting for a stand, choose one that supports both the weight and size of the TV. If possible, secure the stand to the furniture to prevent tipping, especially in homes with kids or pets.
Cable Management

Plan cable routing ahead such that you know how cables will run before starting installation; measure distance between devices and get appropriate length cables that will not stretch too much when connected. Use raceways, conduits or zip ties for neat bundling together of wires; label each cable at both ends ease troubleshooting later on; hide surplus behind furniture/back side of TV etc.
Power Supply Considerations
Plug the TV into its own outlet or a high-quality surge protector to avoid electrical problems. Do not plug the TV and several other devices into the same outlet; this can overload it. If the outlet is far from your television, use an extension cord rated for the necessary wattage. In some cases, you may need to hire an electrician to install a new outlet.
Setting Up the TV
When setting up for the first time, follow the instructions on your screen. To ensure that you get the best picture quality, select “home” mode and turn off any demo or retail modes. Picture settings can be calibrated using a setup disc or online guides made for your television model. For a more natural image while watching movies or sports etc., turn off motion smoothing and noise reduction especially. Note down or take pictures of your final settings so you have them for future reference.
Sound Optimization
Using Internal Speakers: Go into the audio menu and adjust equalizer settings as desired. Disable any virtual surround sound or echo effects for most natural audio output.
Using External Speakers: Place at ear level from seated position and an equal distance apart from where you will be sitting. Angle slightly inward towards the center of seating area — this helps create better stereo imaging between left/right channels.
In either case (internal speakers/external): Calibrate speaker distances/levels/delay/lip-sync settings within TV’s audio menu (or receiver if using one). If exclusively using an external sound system with a receiver, turn off TV speakers in the audio menu.
Avoiding Physical Damage
- When unboxing/mounting: Be Gentle with Your Television! Always lift from bottom edge/corners never screen itself nor top portion where all electronics are located.
- Cleaning screen surface: Use soft cloth (microfiber recommended) + approved cleaning solution designed specifically for TVs/laptops/etc.; gently wipe screen clean in circular motion starting from center and working outward. DO NOT spray liquid directly onto screen; it could seep into edges/vents and damage internal components. AVOID paper towels or other abrasive materials that can scratch glass/plastic surfaces.
- Placement: Don’t put it in high-traffic areas where people might bump into it easily; avoid placing drinks on top — accidents happen! If within a dusty environment like a garage, cover with a dust jacket when not being used.
Post-Installation Checks
- Once everything is connected: Test each input to ensure all devices are recognized by TV; verify proper video/audio signals coming through from each source component. Make sure you’re getting maximum resolution possible out of all attached display devices (Blu-ray players, game consoles etc.).
- Check for firmware updates online: Periodically check manufacturer websites for latest firmware/software updates related to your specific TV model. Download/install if necessary — these often fix bugs or add features that can improve overall performance/stability of a set.
- Re-check mounting bracket/stand: After a few days’ use, make sure mount is still secure; sometimes screws may work themselves loose over time causing sagging/tilting effect. Also, check levelness using built-in bubble level or external laser level devices.
- Fine-tune picture settings: After one-two weeks watching different types of content on various channels/sources (cable/satellite/DVD/blu-ray/Netflix/etc.), recalibrate picture settings as needed under normal lighting conditions in room where set resides
Finally, regular maintenance is also important. Use a microfiber cloth to gently dust the screen and cabinet every couple weeks. Occasionally Ensure none of the vents are blocked so as not to make it overheat. Update the firmware for better performance and security.
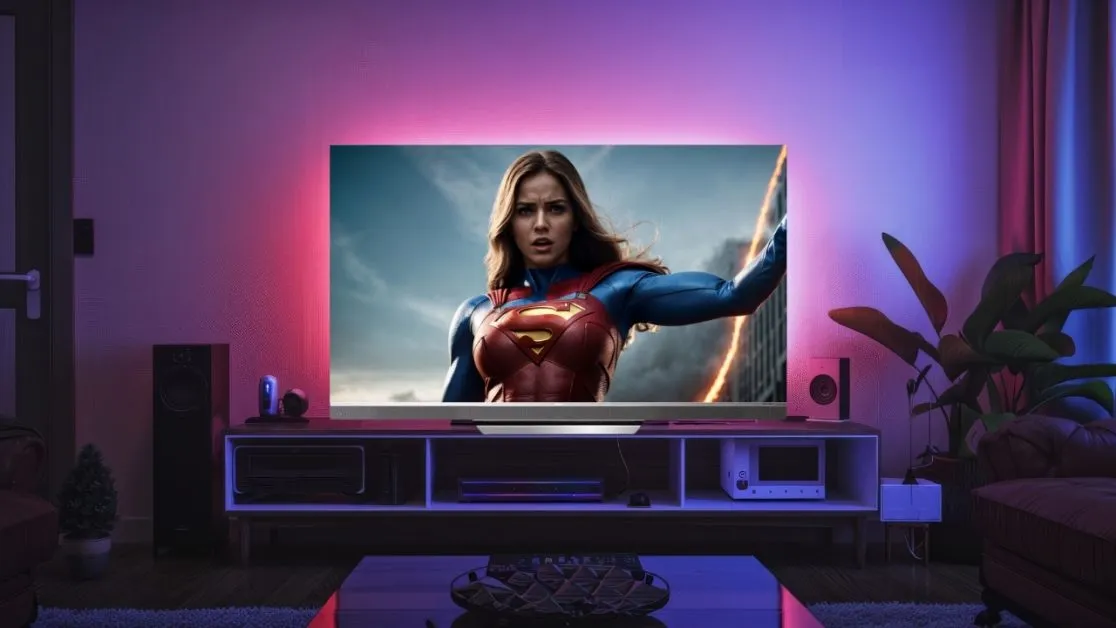
Experience Movie Theater Magic at Home with Haier TVs
At Haier India, we believe in providing our customers with high-quality products at affordable prices. We recognize that setting up a home theater system can be overwhelming; thus, all our LED TVs are backed by step-by-step guidelines as well as 24/7 customer care services. Whether it is a small 24-inch model for your bedroom or large 65-inch 4K unit for the living room, there is something perfect for everyone here. All these televisions come with cutting-edge LED backlight technology which guarantees breath-taking visuals characterized by vibrant colors, smooth motion and access to various streaming platforms among others.
Some of the TVs by Haier India are:
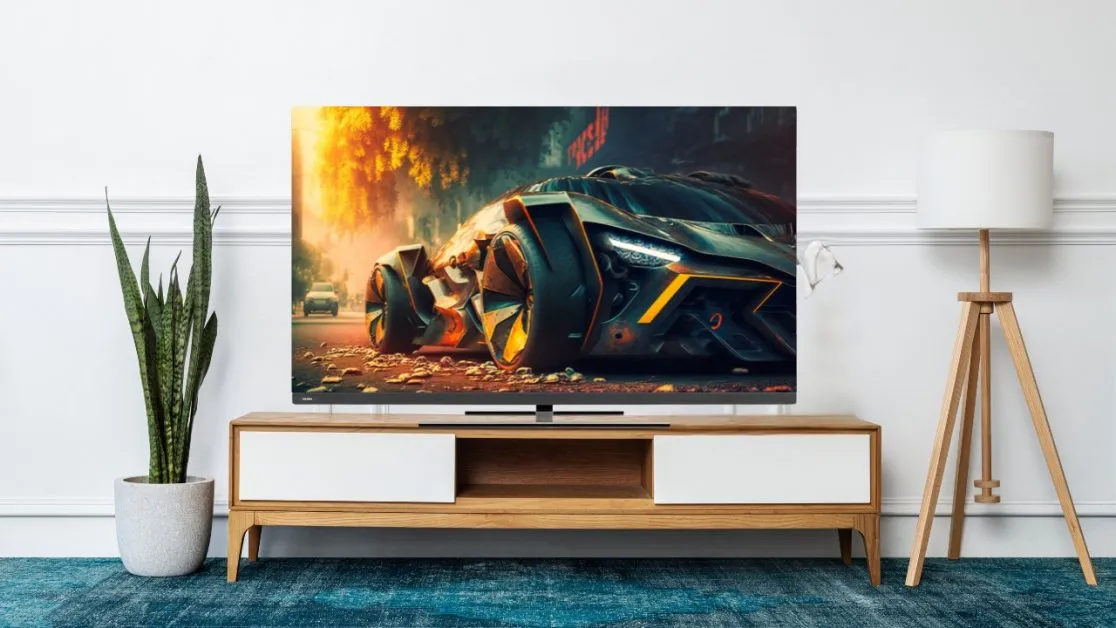
- Haier OLED 165cm (65) Google TV – 65C11 offers an immersive cinematic experience with Dolby Vision IQ and Dolby Atmos technology that optimizes picture and sound based on ambient lighting conditions. It delivers crisp visuals on the OLED display along with rich, balanced audio from the built-in Harman Kardon speakers. Motion processing is enhanced by MEMC 120Hz for smooth, blur-free action scenes. Hands-free voice control via Google Assistant provides convenient smart TV operation and smart home device control. Google TV offers a personalized, tailored viewing experience through curated recommendations and content suggestions. Key features include cinematic Dolby tech, Harman Kardon audio, MEMC for smooth visuals, hands-free voice control, and customized recommendations via Google TV.
- Haier QLED 140cm (55) Smart Google TV – 55S9QT delivers an immersive viewing and gaming experience with features like local dimming for enhanced contrast, MEMC 120Hz for smooth motion clarity, and Game Mode with VRR and ALLM for optimized gaming performance. Hands-free voice control via Google Assistant provides convenient hands-free operation. The Google TV interface offers personalized recommendations and curated content. Ample 3GB RAM and 32GB storage enable smooth multitasking and app performance. dbx-tv audio enhancement optimizes sound for a more immersive experience. With vibrant QLED picture quality and smart connectivity, this Haier TV provides an engaging entertainment hub.
- Haier 127cm (50) Smart Google TV With Far-Field – 50P7GT gives you an immersive viewing experience with its 4K UHD resolution, Dolby Vision HDR, and Dolby Atmos audio technology. Google TV provides a personalized and tailored content experience. Far-field microphones enable hands-free voice control for operating the TV and smart home devices. Gaming is enhanced with auto low latency mode and variable refresh rate technology. The MEMC feature reduces motion blur for smoother video. Abundant RAM and storage enables smooth multitasking and app performance. Finally, the minimalist metal bezel-less design creates an edge-to-edge display for a seamless viewing experience.
Conclusion
It’s easy to install a new LED TV if you know what mistakes to avoid and how things should be done. In this article, we have discussed some of the best practices that will enable you to set up your television easily while maximizing picture and sound quality.
When through with the installation process of your new Haier TV please inform us! It would be great seeing photos of your home cinema system shared across our social media handles. Additionally, do not leave out product registration on our website so that you can activate warranty cover plus other exclusive privileges.