Installing a new washing machine doesn’t have to be a daunting task. With the right guidance and a bit of confidence, you can successfully set up your new appliance and save on installation costs. This DIY guide will walk you through the process step-by-step, from preparing your laundry space to making the final connections.
Whether you’re a first-time installer or looking to refresh your knowledge, you’ll find the information you need to get your new washing machine up and running efficiently and safely.
Let’s get started on this practical home project that combines cost-saving with a sense of accomplishment:
Choosing Location Wisely

Choosing where the washing machine is going should be the first step towards successful installation. These are some of the factors that one should consider:
- Proximity to water supply and drainages
- Even surfaces
- Proper air circulation
- Accessibility for any future repairs and servicing.
Gathering Necessary Tools and Materials
Tools:
- Adjustable wrench
- Pliers
- Level
- Tape measure
- Screwdriver set (flathead and Phillips)
- Bucket
- Flashlight
Materials:
- New water supply hoses (if not provided with the machine)
- Drain hose (if not provided or if existing one needs replacement)
- Teflon tape
- Hose clamps
- Y-adapter (if connecting to a single faucet)
Optional (depending on your specific setup):

- Washing machine drain pan
- Anti-vibration pads
- Electrical tape
- Zip ties for cable management
Safety Equipment:
- Work gloves
- Safety glasses
Note: Always consult your washing machine’s manual for any specific tools or materials recommended by the manufacturer.
Safety First
Consider safety first priority always:
- Turn off the electrical power source.
- Avoid wet, dark areas,
- Have someone assist with heavy lifting,
Step-by-Step Installation Guidelines For Easy Installation

- Unpack and Inspect the Machine
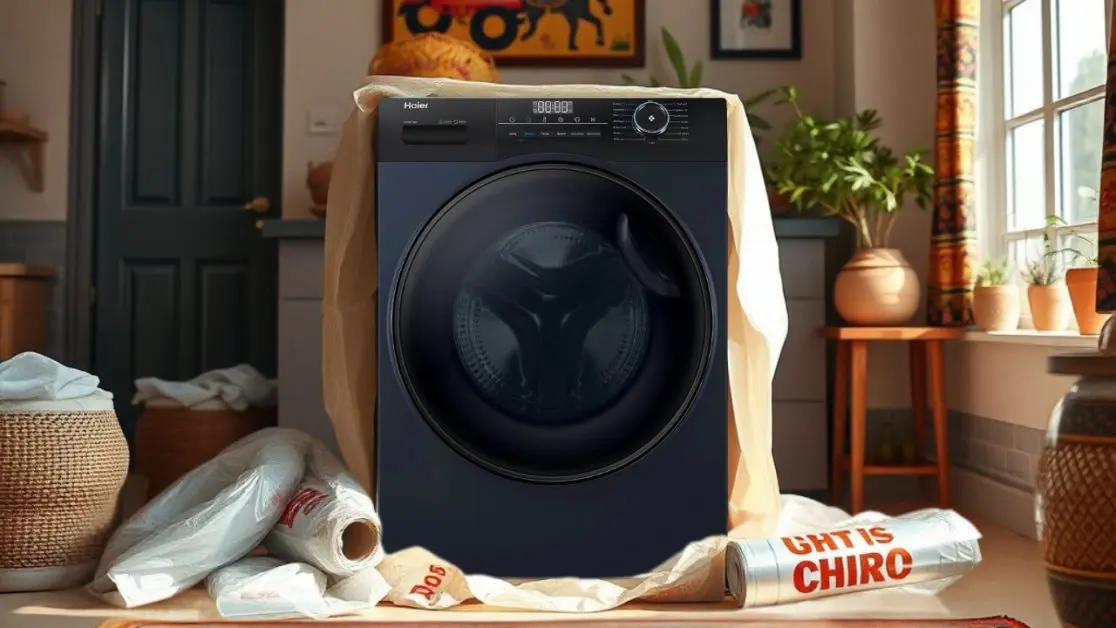
Carefully open the packaging and check for any damage that may have occurred during transportation. Remove all protective materials, including films and transit bolts.
- Position the Machine
With assistance, move the washing machine to its designated area. Use a level to check if it’s balanced and adjust the legs as needed for stability.
- Connect the Water Supply
Identify and connect hot and cold water hoses to the correct inlets on the machine. Apply Teflon tape to the threads of the nuts to prevent leaks. Securely fasten the other ends to your home’s water input taps using an adjustable wrench.
- Set Up the Drain Hose
Connect the drain hose securely to the outlet of the machine and insert the opposite end into a sink or standpipe. Ensure there are no twists or kinks in the hose.
- Electrical Connection
With dry hands, plug the machine into a grounded socket. Avoid using extension cords or adapters for safety reasons.
- Final Checks and Test Run
Double-check all connections and gradually turn on the water supply, checking for leaks. Ensure the machine is level and doesn’t shake. Run an empty cycle to test all functions, listening for any unusual noises and checking for leaks.
Common Installation Challenges and Solutions

Space Constraints
In homes with limited space, consider top-loading machines for smaller footprints or use a stacking kit for dryer placement. Look for compact or slim models designed for small spaces.
Dealing with Hard Water
For areas with hard water, consider installing a water softener system or using water softening detergents. Clean the appliance regularly to prevent mineral build-up.
Understanding Advanced Features
Smart washing machines often come with advanced features such as Wi-Fi connectivity for remote control, smart dosing systems, multiple wash programs for different fabrics, and energy-saving modes. Familiarize yourself with these features to make the most of your machine’s capabilities.
Remember to always consult your washing machine’s manual for model-specific instructions and recommendations.
Ending Note!
Installing a washing machine yourself is not just about saving money; it’s about gaining confidence in your ability to handle household projects. This guide aims to help you set up your new appliance safely and efficiently.
As you go through this DIY process, consider Haier India’s innovative washing machines. Known for their reliability, efficiency, and modern features, Haier offers a range of options to suit various Indian households. Whether you need a compact model for a small apartment or a large-capacity machine for a big family, Haier has solutions to meet different needs.
By choosing a Haier washing machine and installing it yourself, you’re not only saving time and energy on laundry but also investing in a smarter, more efficient home. So, follow this guide with confidence, and transform your laundry routine into a task you can be proud of managing on your own.

