
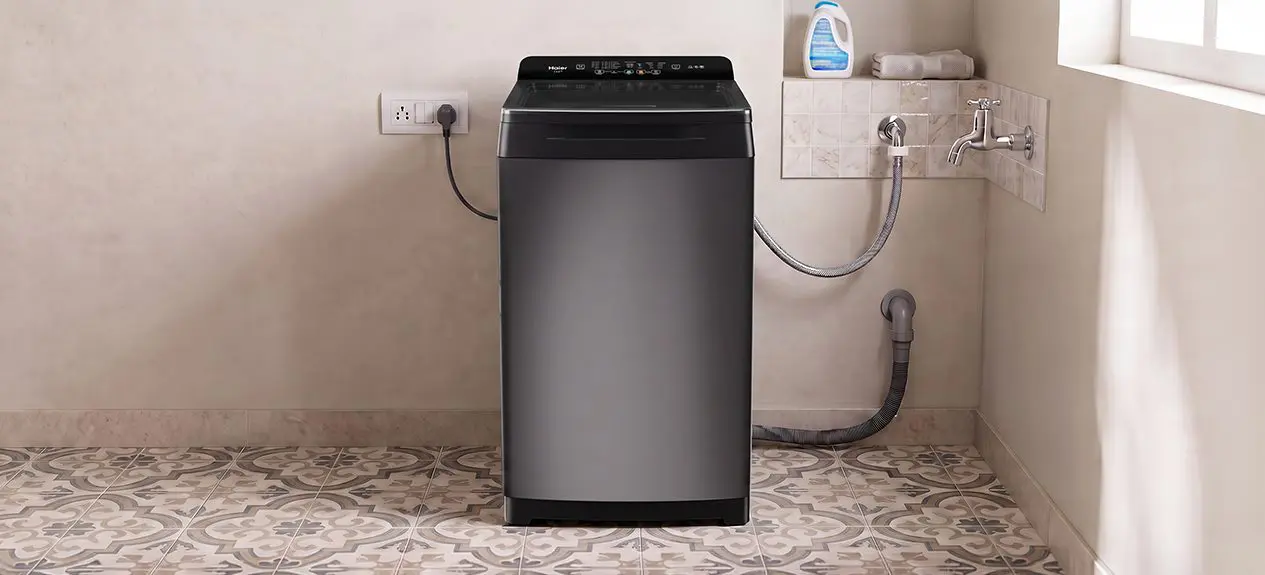

A washing machine can last for years of regular use, but a poor installation can cause problems much sooner than you would expect. An uneven floor, loose hose, unstable electrical connection or incorrect positioning can impact performance and place unnecessary stress on important components. So don’t hurry proper installation after delivery.
This washing machine installation guide covers the essential steps for both automatic and semi-automatic machines, while keeping common Indian household conditions in mind. Haier machines are designed for everyday environments where uneven flooring, changing water pressure, and older electrical systems can be part of the setup. Getting these basics right from the beginning helps the machine operate more smoothly, reduces avoidable strain, and can prevent installation-related service problems later.
Washing Machine Installation Tips: Pre-Installation Checklist
A lot of installation problems start before the machine is even unboxed. This part feels unnecessary until you skip it and pay for that later.
- The floor should be level and firm. Even a minor tilt can cause noticeable vibration during spin cycles.
- Clearance of a few inches should be maintained on all sides for ventilation and future servicing access.
- A functional drainage point, either a floor drain or a standpipe, should be available nearby.
- A dedicated, properly earthed electrical socket is required. Shared sockets and extension boards should be avoided.
- The floor and supporting wall must be able to bear the machine’s loaded weight, particularly for top load models.
- The instruction manual should be kept accessible for reference during and after installation.
These washing machine installation tips apply across brands and machine types. Overlooking any one of them typically does not cause an immediate problem. It tends to surface later, once the machine is handling a full, heavy load.
Setting Up an Automatic Washing Machine
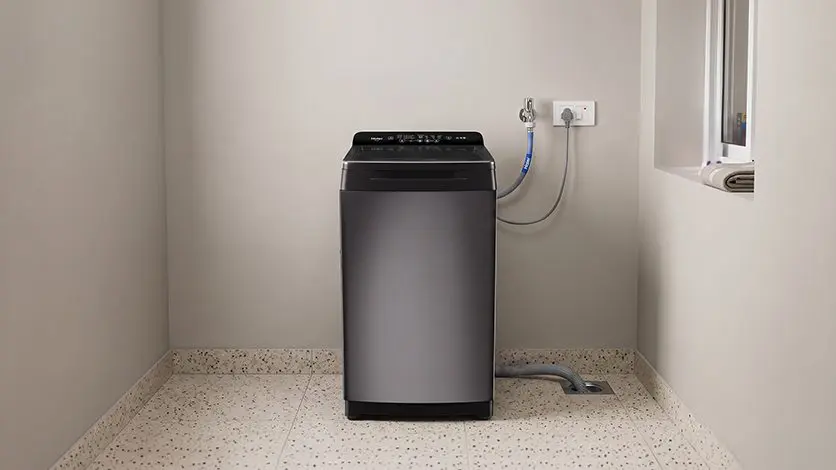
Front load and top load machines are both classified as automatic, though their installation requirements differ. Front load units sit lower to the ground and rely on drum balance to control vibration. Top load machines are taller and require clearance above for the lid to open fully. Both types require a fixed water connection, unlike semi-automatic models.
- Positioning and Levelling
The transit bolts and foam packaging at the rear panel must be removed before use. These components exist solely to secure the drum during transport, and operating the machine with them still attached can damage the motor mount. Once removed, the levelling feet at each corner should be adjusted until the unit sits flat. A practical way to confirm this: place a coin on top of the machine and run a spin cycle. If the coin does not move, the base is level.
- Water Inlet and Drainage Connection
This stage accounts for most set-up automatic washing machine queries, as incorrect fitting here causes the majority of early leaks. Connect the inlet hose to a threaded tap using the rubber washer supplied with the unit. Tighten by hand first, then apply a final quarter turn with a wrench. The drain hose should be positioned at the height specified in the manual, typically between 60 and 100 centimetres. A drain hose set too low can cause water to siphon out mid-cycle, while one set too high places unnecessary strain on the pump.
- Electrical Connection and First Wash Cycle
The machine should be connected to a dedicated, earthed socket rated for its electrical load. Extension boards and shared sockets are not suitable, since washing machines draw a steady current during heating and spin phases. Once connected, an empty test cycle with a small amount of detergent should be run to check for leaks at the hose joints and confirm even drum rotation. This test cycle, part of proper washing machine setup, identifies most fitting errors before any laundry is loaded.
| Parameter | Front Load | Top Load |
| Floor space | Compact footprint, fits under counters | Taller unit, requires vertical clearance |
| Water connection | Fixed tap connection required | Fixed tap connection required |
| Loading style | Front-facing door, some bending required | Top-facing lid, minimal bending required |
| Vibration behaviour | Lower centre of gravity, generally quieter | Slightly higher vibration at peak spin speeds |
Installing a Semi-Automatic Washing Machine
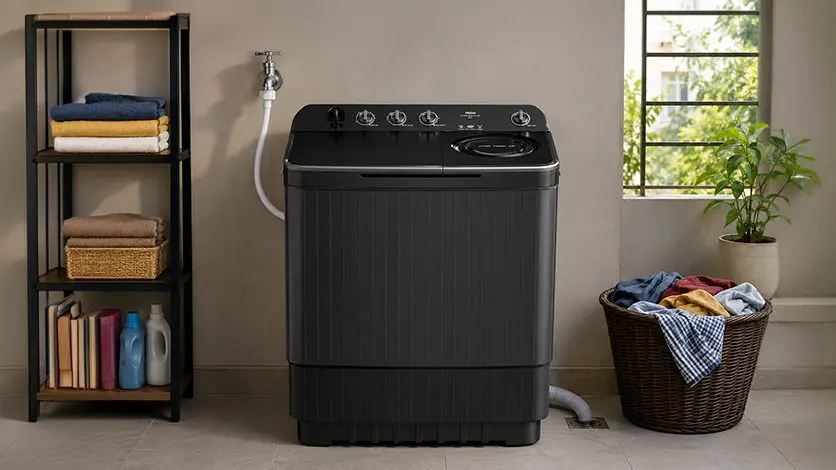
Semi-automatic machines work a bit differently here. Two tubs instead of one, wash and spin kept separate, and no fixed plumbing needed at all. Water goes in and comes out by hand, which keeps the whole setup shorter.
The usual installation procedure goes like this:
- Set the unit on flat, dry ground near a water source. A fixed tap isn’t required.
- Connect the inlet pipe if a tap’s nearby, or just fill it manually.
- Fit the outlet pipe tight so it doesn’t spill while draining.
- Check both tubs sit level and the lid shuts without a fight.
- Run a short test wash, small load, to confirm the pulsator and spin tub work fine.
No dedicated plumbing needed, so these machines end up common in rented flats and places without a fixed water line.
The Haier Way: Engineering for Real Home Conditions
At Haier, we build washing machines for homes as they really are, not some ideal showroom setup. Uneven bathroom floors, older wiring, water pressure that shifts through the day, these are common realities, and our entire Haier washing machine installation process is built to work around them, not just on paper.
Our front load washing machines, F-series included, run on a Direct Motion Motor attached straight to the drum. No belt, no pulley, less friction and noise once installed. Add the 525mm Super Drum with seamless welding, and balance holds up even when the floor underneath doesn’t. Voltage dips during monsoon are a real problem in many areas, so our Auto Restart function picks the cycle back up once power returns, instead of leaving it stuck.
Our top load washing machines use the Oceanus Wave Drum, built to wash gently while staying steady through spin cycles. Several models add an in-built heater and a toughened glass lid for safer, controlled closing.
Our semi-automatic washing machines come with castor wheels for easy repositioning, plus an anti-rat mesh base as standard. None of this replaces proper installation. It just means small imperfections don’t cost you as much.
Want to know how monsoon power cuts and voltage dips affect your washing machine’s motor?
Read this blog: How Power Fluctuations in Monsoon Affect Washing Machine Motors and What to Look For
Common Installation Mistakes to Avoid
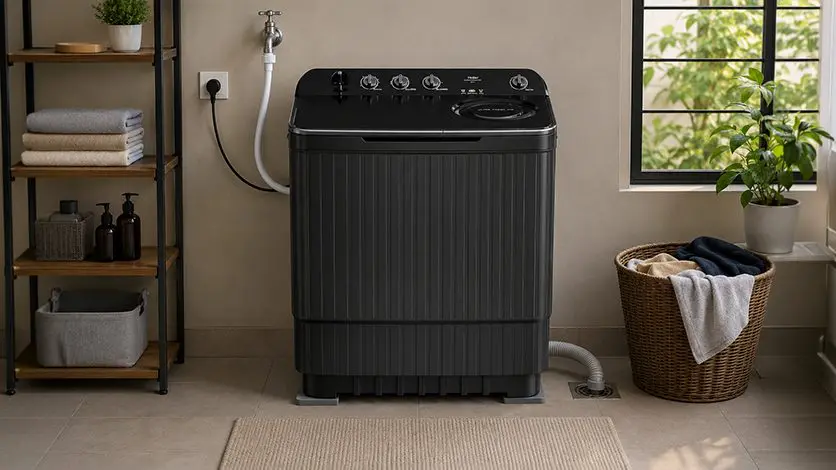
The following errors account for most installation-related complaints reported after setup:
- Leaving transit bolts in place, which restricts drum movement and gradually damages the motor.
- Omitting anti-vibration pads on machines placed on tiled or wooden flooring.
- Skipping the earthing connection, which is a genuine electrical safety risk.
- Blocking rear ventilation gaps by positioning the machine flush against a wall.
- Using a shared or under-rated socket instead of a dedicated one.
Addressing these points during installation takes only a few minutes. Correcting them after months of use typically requires significantly more time and cost.
Conclusion
The installation of a washing machine is not a difficult task, but requires attention to certain details. A stable water connection, proper earthing and short test cycles largely determine whether a machine will perform reliably for years or develop problems within months. The basics are the same for front-load, top-load and semi-automatic machines, it’s just the specific steps that change by type. Haier’s range is designed with these everyday realities of installation in mind, so performance is consistent even when site conditions are less than ideal.
FAQs
How do I connect a washing machine to the taps?
Attach the inlet hose to a threaded tap using the rubber washer provided, tighten it by hand, then apply a final quarter turn with a wrench. Run a short test cycle afterwards to check the joint for leaks.
How do Haier washing machines protect against electrical instability during setup?
Haier washing machines include an Auto Restart function. If a power failure or voltage fluctuation interrupts the wash, the machine resumes automatically from the exact point it stopped, without requiring manual intervention.
Are washing machine inlet pipes universal?
Most inlet pipes use a standard threaded fitting compatible across brands, though hose length, connector type, and pressure ratings can vary. It is advisable to use the pipe supplied with the machine or one matching its specified fitting.
What advanced motor and drum engineering help Haier washers remain stable after installation?
Haier’s Direct Motion Motor connects directly to the drum, eliminating the belt and pulley system. Combined with the 525mm Super Drum and seamless welding, this design reduces vibration and maintains stability even on uneven flooring.